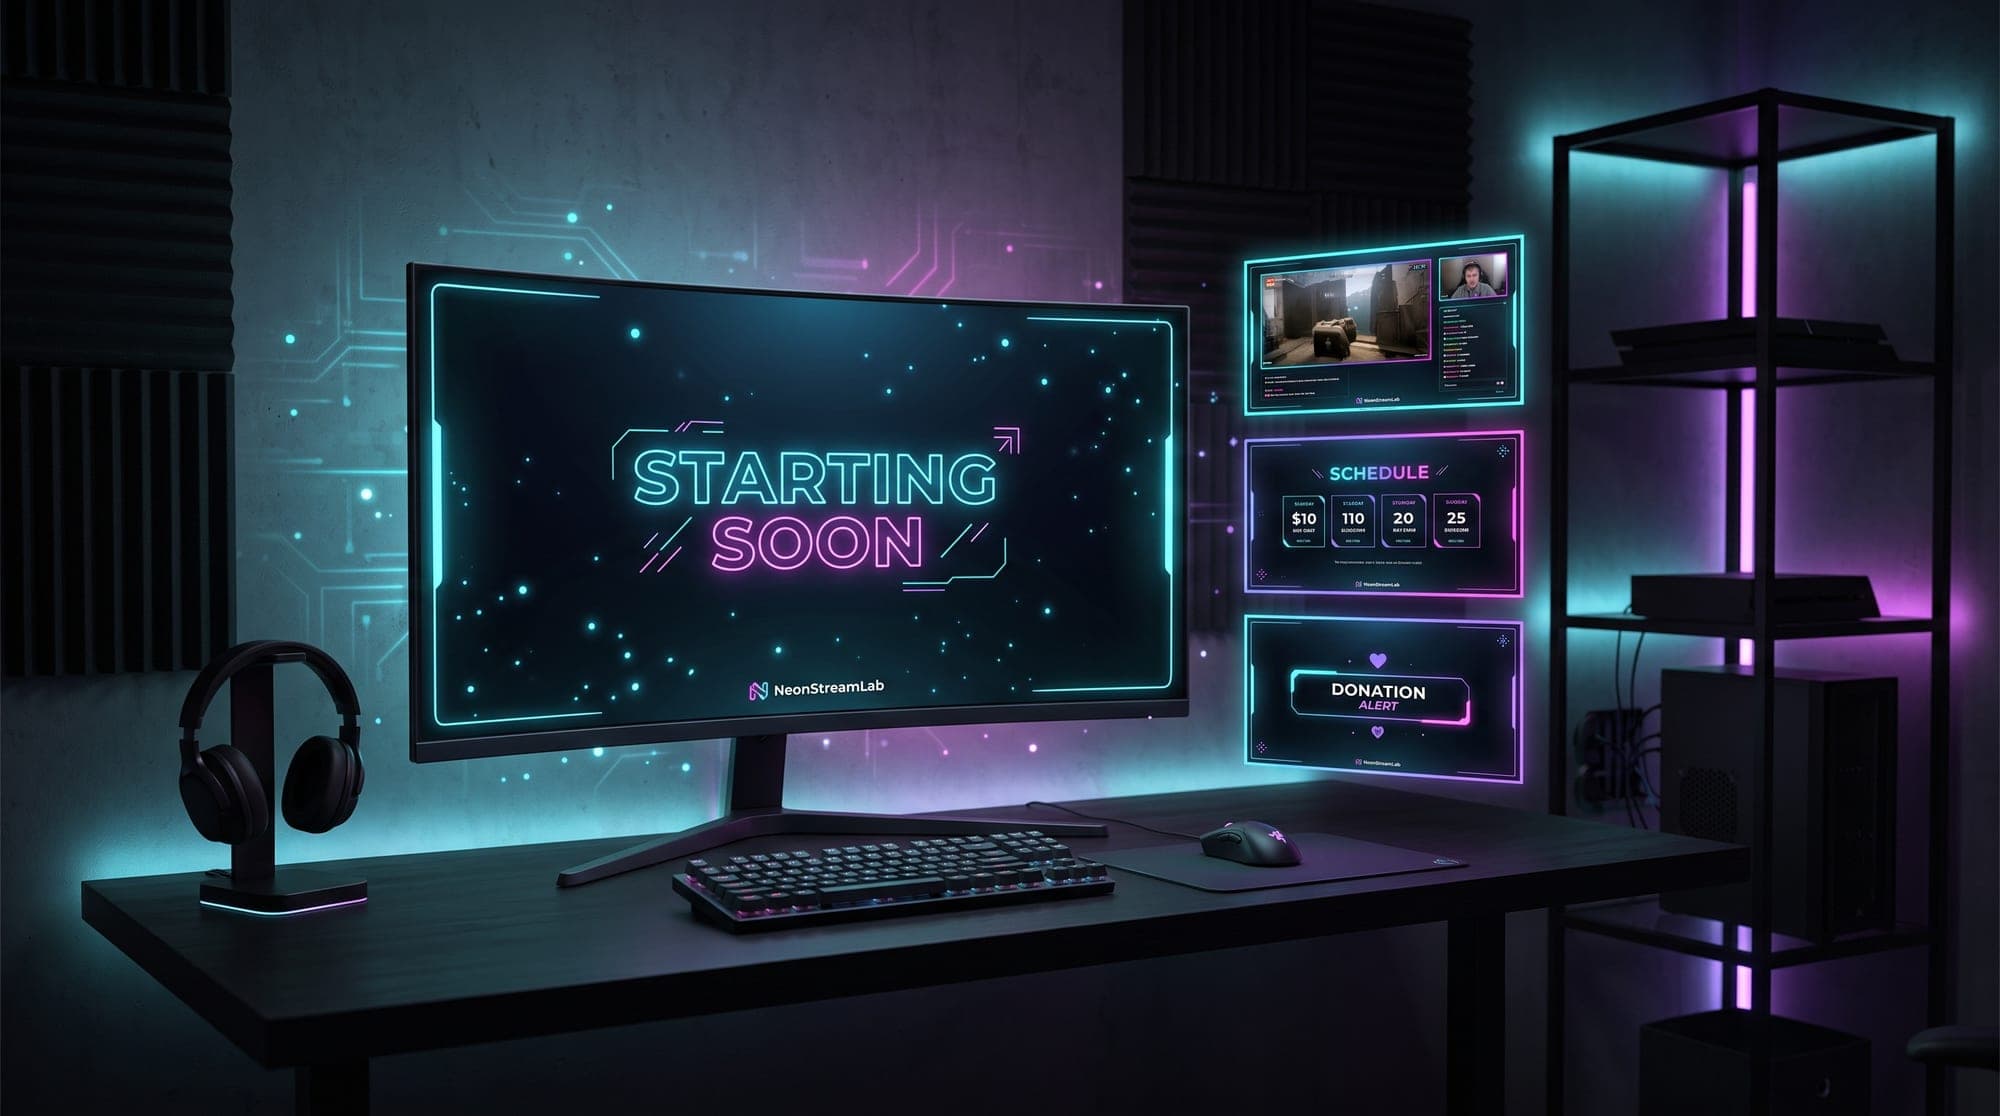
Search "free Twitch overlay template" and you get a wall of design tools all promising the same thing: a professional stream screen, free, in minutes. Most of them are telling you about 80% of the truth. This guide covers the other 20%: what the four screens actually do, the size that matters, how to make them without paying anything, and the catches to check before you trust any free maker with your artwork.
The four screens every channel needs
Before you design anything, know what you are designing. A complete set is four scenes, and each one solves a different problem:
- Starting Soon. Runs before you go live so viewers can trickle in, say hello and settle before the actual content starts. It buys you a buffer instead of forcing people into a cold open.
- Be Right Back. The intermission screen for when you step away. This is the one people stare at longest, and the one most channels leave empty. Put a time on it ("back in 5") and you keep the room.
- Stream Ending. Your outro. The people still watching here are your most loyal, so it is the best spot on the whole stream to point at your socials, your Discord or your next stream date.
- Offline. What sits on your channel page when you are not live. It is the only asset that works around the clock, so it should say who you are and when you stream.
If you only build one today, build the Starting Soon screen. It is the first thing a new viewer ever sees from you, and it sets the tone for everything else about how professional your stream looks.
Get the size right: 1920 x 1080
Every one of these screens should be 1920 x 1080 pixels, 16:9. That is full HD and it is the standard canvas OBS, Streamlabs and StreamElements expect for a full-scene graphic.
Two reasons not to improvise here. First, anything smaller gets scaled up and turns soft, which reads as amateur instantly. Second, a mismatched ratio leaves black bars or crops your text off the edge on some viewers' screens. Build at 1920 x 1080 and export as PNG (it keeps text crisp) or JPG if the file is a heavy photo background.
How to make one for free, in about three minutes
The process is the same whichever tool you use:
- Start from a 16:9 canvas and drop in a background. A game screenshot, your own artwork or a ready-made background all work.
- Add your text. One big line for the message, one small line underneath for context ("back in 5 minutes", "thanks for watching").
- Pick a font and one accent color. One accent, used consistently, is what makes four separate screens look like one brand.
- Export the PNG and keep the file somewhere you will find it again.
We built free tools that do exactly this, one per screen, with no account and nothing to install: the Starting Soon screen maker, the Be Right Back screen maker, the Stream Ending screen maker and the Offline screen maker. Pick a template, type your text, download. They all live in the free tools section.
One detail that matters more than it sounds: you type the text yourself, so it works in any language. A lot of template libraries bake English into the design, which is useless if you stream in Spanish, French, Portuguese or Japanese.
The catch with most "free" template tools
This is the part the tool pages skip. "Free" covers at least four different things, and only one of them is actually free. Before you invest an hour designing, check:
- Is there a watermark on the export? Plenty of makers let you design for free and then stamp a logo across the download unless you subscribe. You find out at the last step, after the work is done.
- Do you need an account? Some tools gate the download behind a signup, which usually means marketing emails and an unnecessary copy of your data.
- Is the download itself paywalled? A common pattern: the editor is free, the high-resolution export is not. You end up with a 720p file or a bill.
- Where does your uploaded image go? Most browser design tools upload your background to their servers to process it. If you are working with artwork you commissioned or paid for, that is worth knowing.
Our tools were built to fail all four of those traps on purpose: no watermark, no account, full 1920 x 1080 export, and the image never leaves your browser because everything renders on your own device. That is not a growth hack, it is just the version of "free" we would want as streamers.
Make the text actually readable
The single most common mistake on a homemade screen is text you cannot read on a phone. Three fixes that cost nothing:
- Go bigger than feels comfortable. Your headline should be readable at a glance on a small screen. If you are unsure, it is too small.
- Separate the text from the background. Darken the background behind the text, or drop the text onto its own band. A beautiful background with cream text over a bright area is unreadable in practice.
- Commit to one accent color. Pick one and use it on all four screens. If you want help choosing, our guide to stream overlay color palettes breaks down which combinations survive on stream and which fall apart.
Consistency is doing the heavy lifting here. Four screens sharing one font and one accent color look designed. Four screens with four different looks look like four downloads.
Getting it into OBS, Streamlabs or StreamElements
Once you have the PNG, the import is the easy part. Create a new scene, name it (Starting Soon, BRB and so on), and add your file as an Image Source. Resize it to fill the canvas and you are done. Switch to that scene whenever you need it.
If you have never done it before, we have step-by-step walkthroughs for adding an overlay to OBS, for Streamlabs and for StreamElements. The workflow is nearly identical in all three.
While you are tidying up your channel, your Twitch panels are the other half of the first impression, and they are worth matching to the same palette.
Where free stops, honestly
Here is the limit nobody selling a free generator will tell you: a free maker gives you a static image. That is genuinely enough to look tidy, and for a new channel it is the right call. Spend your money on your microphone first.
What a static PNG cannot do is move. Animated screens with drifting particles or a slow parallax, animated alerts that fire on a follow, a matching webcam frame, a stinger transition between scenes: that is a different product, and it is where a paid pack earns its price. We wrote an honest comparison of free versus paid overlays if you want to know when the upgrade is actually worth it, and there are real free screen makers on the site if you want to test the animated version before spending anything.
If and when you do want the full matching set, our overlay packs ship the four animated screens plus alerts, panels, a webcam frame and a chat box in one coherent style. Same logic as above, just moving.
The short version
Build four screens at 1920 x 1080, export as PNG, keep one font and one accent color across all of them, and make the text bigger than feels natural. Use a free maker to get there, but check the fine print first: watermark, forced account, paywalled export and what happens to your uploaded image. Start with the Starting Soon screen, and read our deeper walkthrough on making a Starting Soon screen if you want the full breakdown. The rest of the set takes about ten minutes once the first one exists.