Twitch Panels Guide: Sizes, Ideas and Setup for 2026
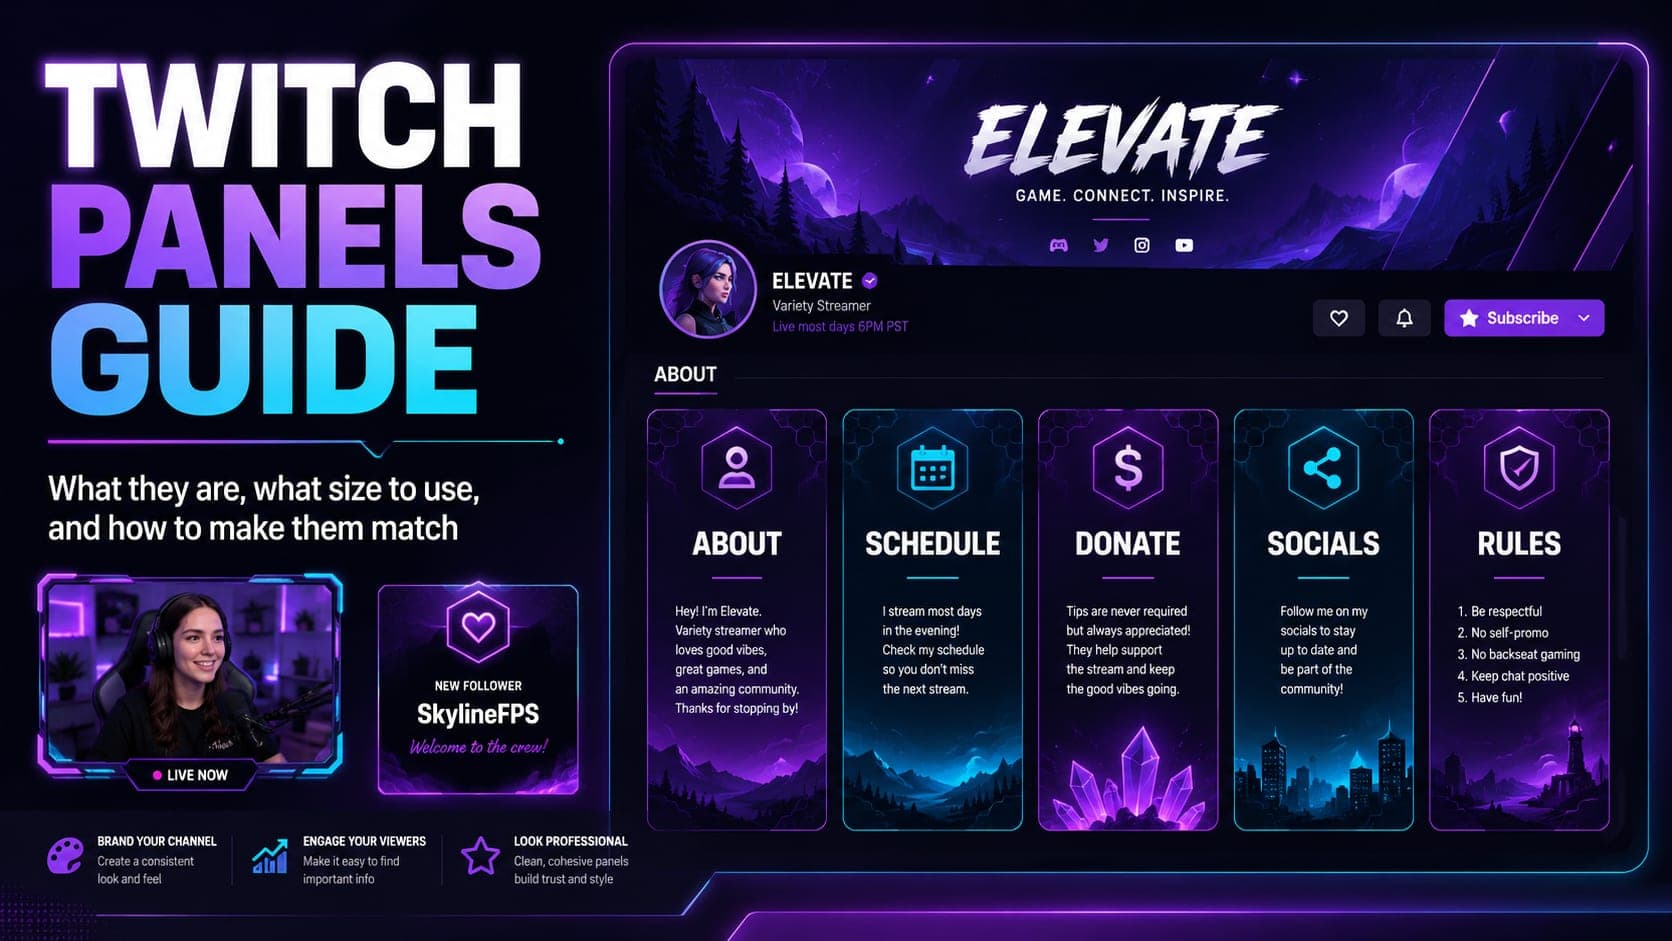
Twitch panels are the information blocks on the About section of your channel. They do not appear inside OBS or over gameplay. Their job is different: help a new visitor understand who you are, when you stream and where to find useful links before they leave your page.
A good panel layout is fast to scan. A weak one looks like a long list of buttons with no order. This guide explains what to include, how to upload panels, the current Twitch limits and how to make them match the rest of your stream.
What Twitch panels do for a channel
A panel can contain an image, a clickable image link, a title and a short description. Twitch lets you edit them from the channel page while live, or from the About section while offline. You can also drag panels to reorder them after you create them.
Panels help you do four things:
- Give a new viewer a fast introduction to your channel.
- Make your schedule and community links easy to find.
- Explain support links clearly and respectfully.
- Carry the same visual identity from your stream screens to your channel page.
They are not a substitute for a good bio or a clear stream title. Think of them as supporting information that a viewer checks after deciding that your channel looks interesting.
Twitch panel size and file limits
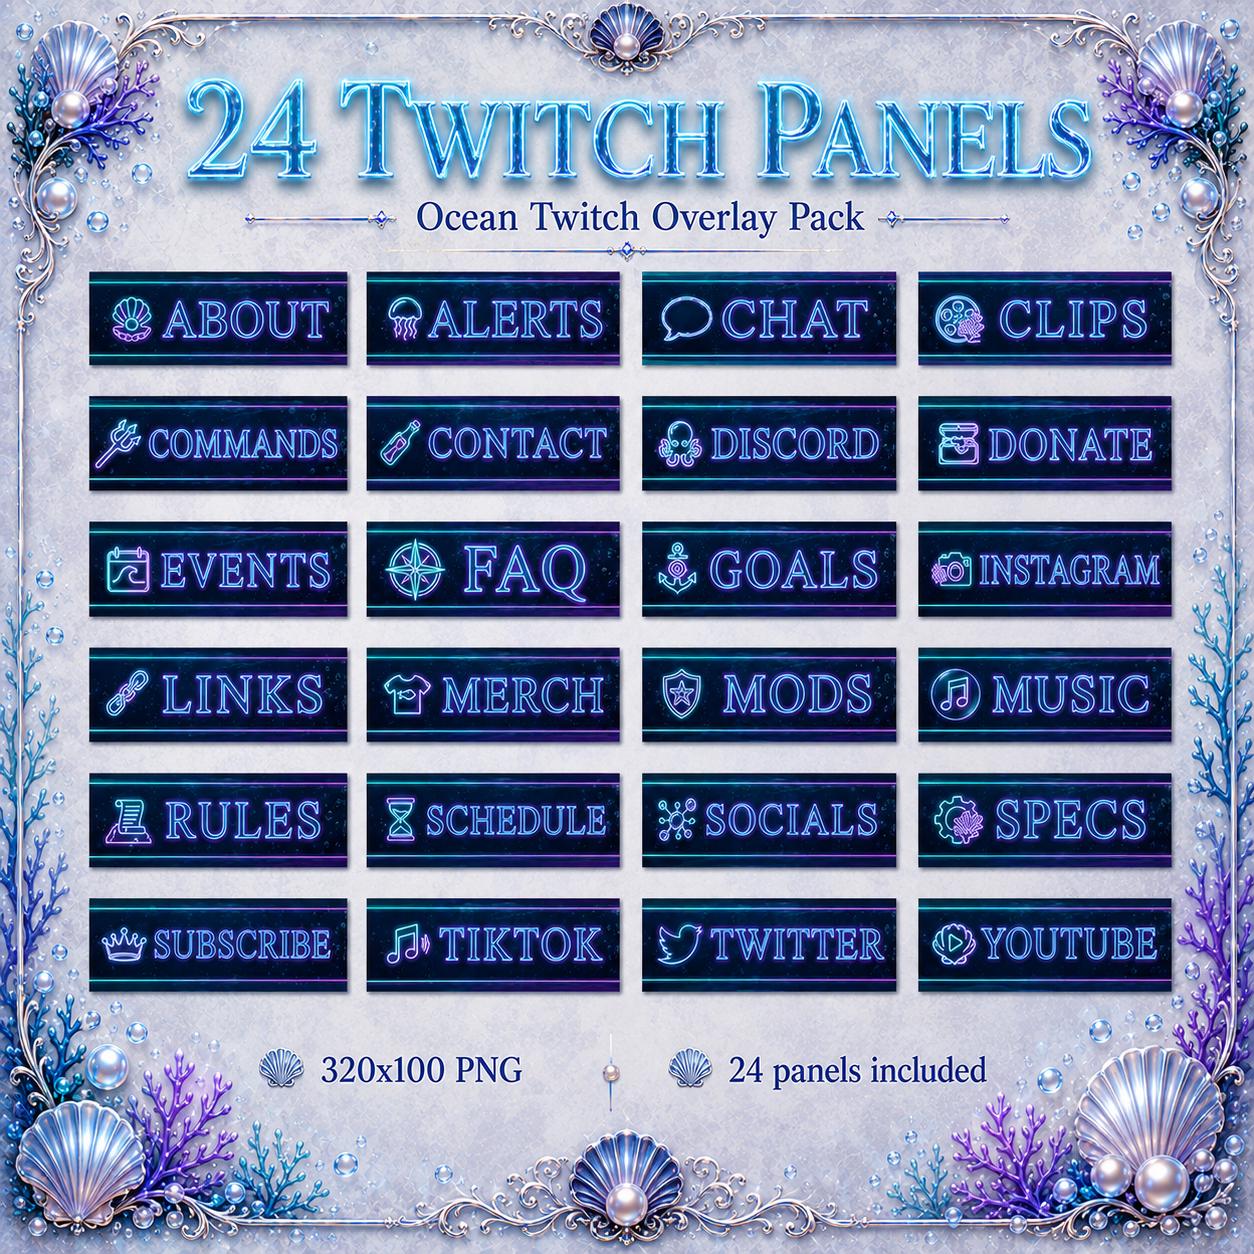
For straightforward horizontal panels, 320 x 100 pixels is a practical working size and the size used by matching panels in NeonStreamLab collections. It keeps every panel aligned and readable.
Twitch's current editing guidance says panel images should remain under 1 MB and not exceed 320 pixels wide by 600 pixels high, otherwise Twitch resizes them. Its channel-page guidance also notes that image limits can vary by the panel surface, so keeping files light and testing the final appearance is the safest approach. Twitch's panel editor guide is the reference to check if the interface changes.
Use PNG for text-heavy or graphic panels. Keep the file clean, sharp and small. A 320 x 100 panel should not need a heavy file.
The best panels to add first
You do not need to publish every possible panel. Start with six to eight that answer a viewer's main questions.
| Panel | What it should answer | Good placement |
|---|---|---|
| About Me | Who are you and what do you stream? | First |
| Schedule | When can viewers catch you live? | Near the top |
| Discord / Community | Where can regulars join between streams? | Near Schedule |
| Rules | What kind of community are you building? | Before support links |
| Socials | Where else can viewers follow you? | Mid-page |
| Support / Donate | How can someone support the stream? | After trust-building panels |
| Setup / Specs | What gear or games do you use? | Optional |
| FAQ | Answers to repeated questions | Optional |
The order matters. Put helpful information first, then community links, then support. A new viewer should never see a donation panel before they know what your channel is about.
How to add Twitch panels
- Open your Twitch channel page. If you are offline, go to the About section.
- Turn Edit Panels on.
- Click the + button to add a new panel.
- Add the image, optional title, image link and short description.
- Click Submit to save it.
- Drag the panel into its final position.
- Turn Edit Panels off and check how the completed layout reads as a visitor.
Twitch allows Markdown in the description field, but not HTML. Keep the text brief. The image and its destination should do most of the work.
Make panels useful, not decorative
A matching set looks professional, but it still needs to be understandable. A viewer should be able to guess what each panel does at a glance.
Use these rules:
- One action per panel. A Discord panel should take the viewer to Discord, not also ask them to follow three other accounts.
- Use clear labels. "Schedule" beats an abstract icon if a new viewer cannot decode it.
- Keep contrast high. Tiny pale text on a detailed background is difficult to read, especially on mobile.
- Repeat the visual language. Keep the same type treatment, border style and colors across the full set.
- Review the links. A beautiful panel leading to an expired invite creates a worse impression than no panel.