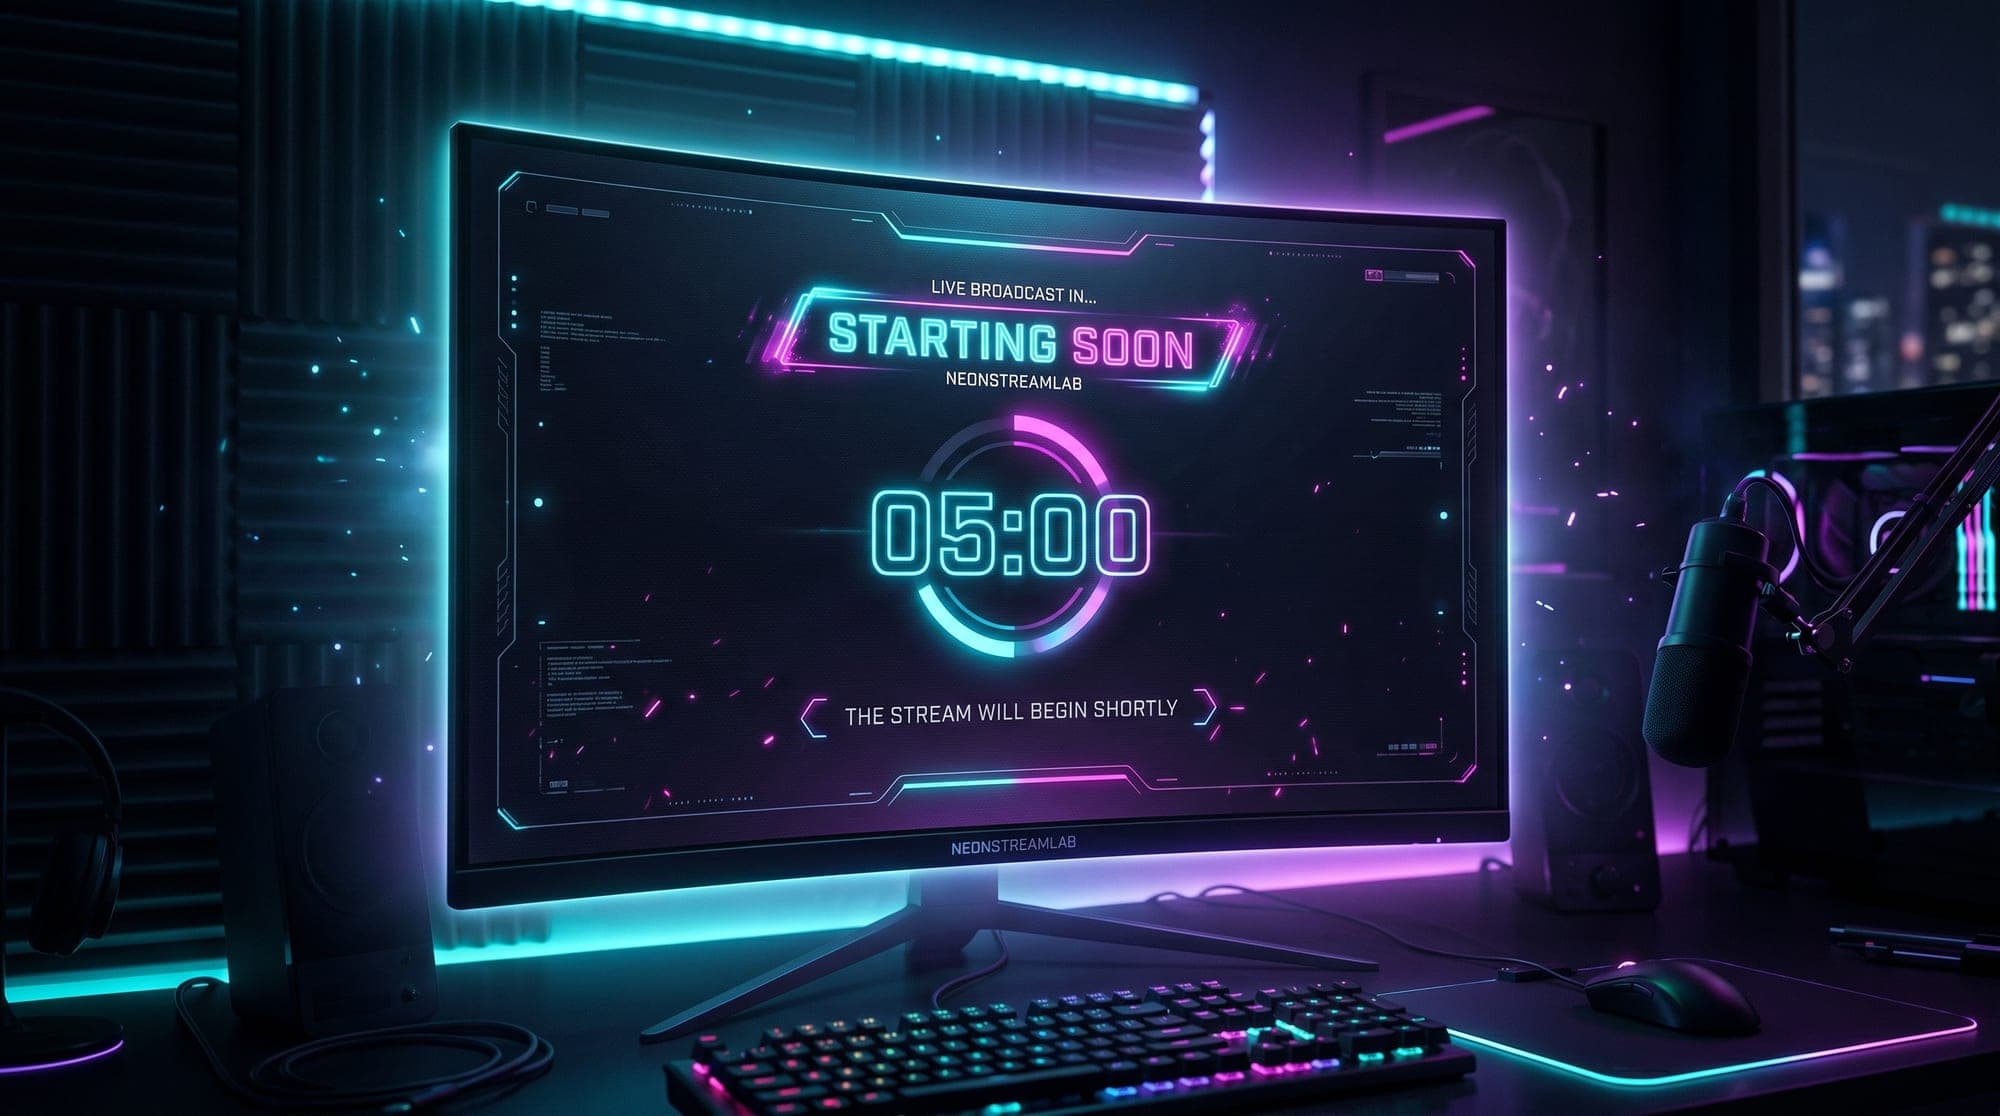
Almost nobody shows up the second you go live. There's always a gap - your followers get the notification, open the app, and drift in over the next few minutes. A "Stream Starting Soon" screen is what fills that gap. Instead of viewers landing on dead air (or you awkwardly talking to an empty room), they get a branded holding screen with a countdown, and the chat starts buzzing before you've even said a word.
It's one of the most useful screens you can make, and it takes about ten minutes in OBS, Streamlabs or StreamElements. This guide covers what to put on it, the four screens every streamer needs, how to add a countdown timer, and the free vs animated options - with the settings that actually work.
What is a "Starting Soon" screen?
A Starting Soon screen (sometimes called a stream intro, waiting screen or holding screen) is a full-screen graphic you show for the first few minutes of your broadcast, before the real content begins. It usually has a background, your branding, a short message like "Starting Soon," and often a countdown timer ticking down to go-time.
Why it works is simple psychology:
- It catches the stragglers. Your notification goes out the moment you go live, but people take a few minutes to arrive. A countdown gives them a window to join before they miss the start.
- It builds hype in chat. While the timer runs, early viewers start chatting and the room warms up - so when you actually begin, there's already energy instead of silence.
- It saves you from dead air. No more "uhh, can you hear me? is the mic working?" for five minutes. You get a clean, professional open every single time.
The four stream screens you actually need
A Starting Soon screen rarely comes alone. A proper overlay set includes four scene screens, each for a different moment of your broadcast:
- Starting Soon - the pre-show holding screen with your countdown.
- Be Right Back (BRB) - for quick breaks mid-stream (bathroom, snack, sorting an issue) so you don't go fully offline. Here's how to make a BRB screen for Twitch.
- Stream Ending - a wind-down screen for the last minute, often thanking viewers and pointing to your socials or next stream.
- Offline - what shows on your channel page when you're not live (on Twitch, this is your offline banner). We cover Twitch offline and stream ending screens in their own guide.
Having all four in the same style is what makes a channel look designed rather than improvised. A matching Starting Soon, BRB, Ending and Offline screen tells a new viewer "this person takes their stream seriously" before you've said anything.
How to add a Starting Soon screen in OBS
The setup in OBS is straightforward. The idea is to make a dedicated scene for it, so you can switch to it with one click.
- In the Scenes panel (bottom-left), click + and name a new scene "Starting Soon".
- With that scene selected, go to the Sources panel, click +, and add your screen file: choose Media Source for an animated MP4 background, or Image for a static PNG/JPG.
- Browse to your file. For an animated background, tick Loop so it plays continuously.
- Resize it to fill the canvas - right-click the source and pick Transform → Fit to screen (or press Ctrl+F) so it snaps to 1920×1080.
- Repeat the same steps to make separate scenes for BRB, Stream Ending, and Offline.
Now you can switch between your gameplay scene and your Starting Soon scene instantly, and your stream looks intentional at every stage.
Adding it in Streamlabs or StreamElements
Using Streamlabs Desktop instead of OBS? Same idea, same files. Create a new scene, add your MP4 as a Media Source (tick loop), and stretch it to fit - the interface is nearly identical to OBS here. If your overlay came as a .overlay file, you can import the whole scene collection in one go via Settings → Scene Collections → Import Overlay File, screens included.
On StreamElements, you build the scene in the online overlay editor instead: add your Starting Soon video as a layer, then bring the whole overlay into OBS as a single Browser Source URL. Handy if you stream from more than one PC, since everything lives in the cloud.
Whichever app you use, the screen file itself is identical - a 1920×1080 MP4 loop works everywhere.