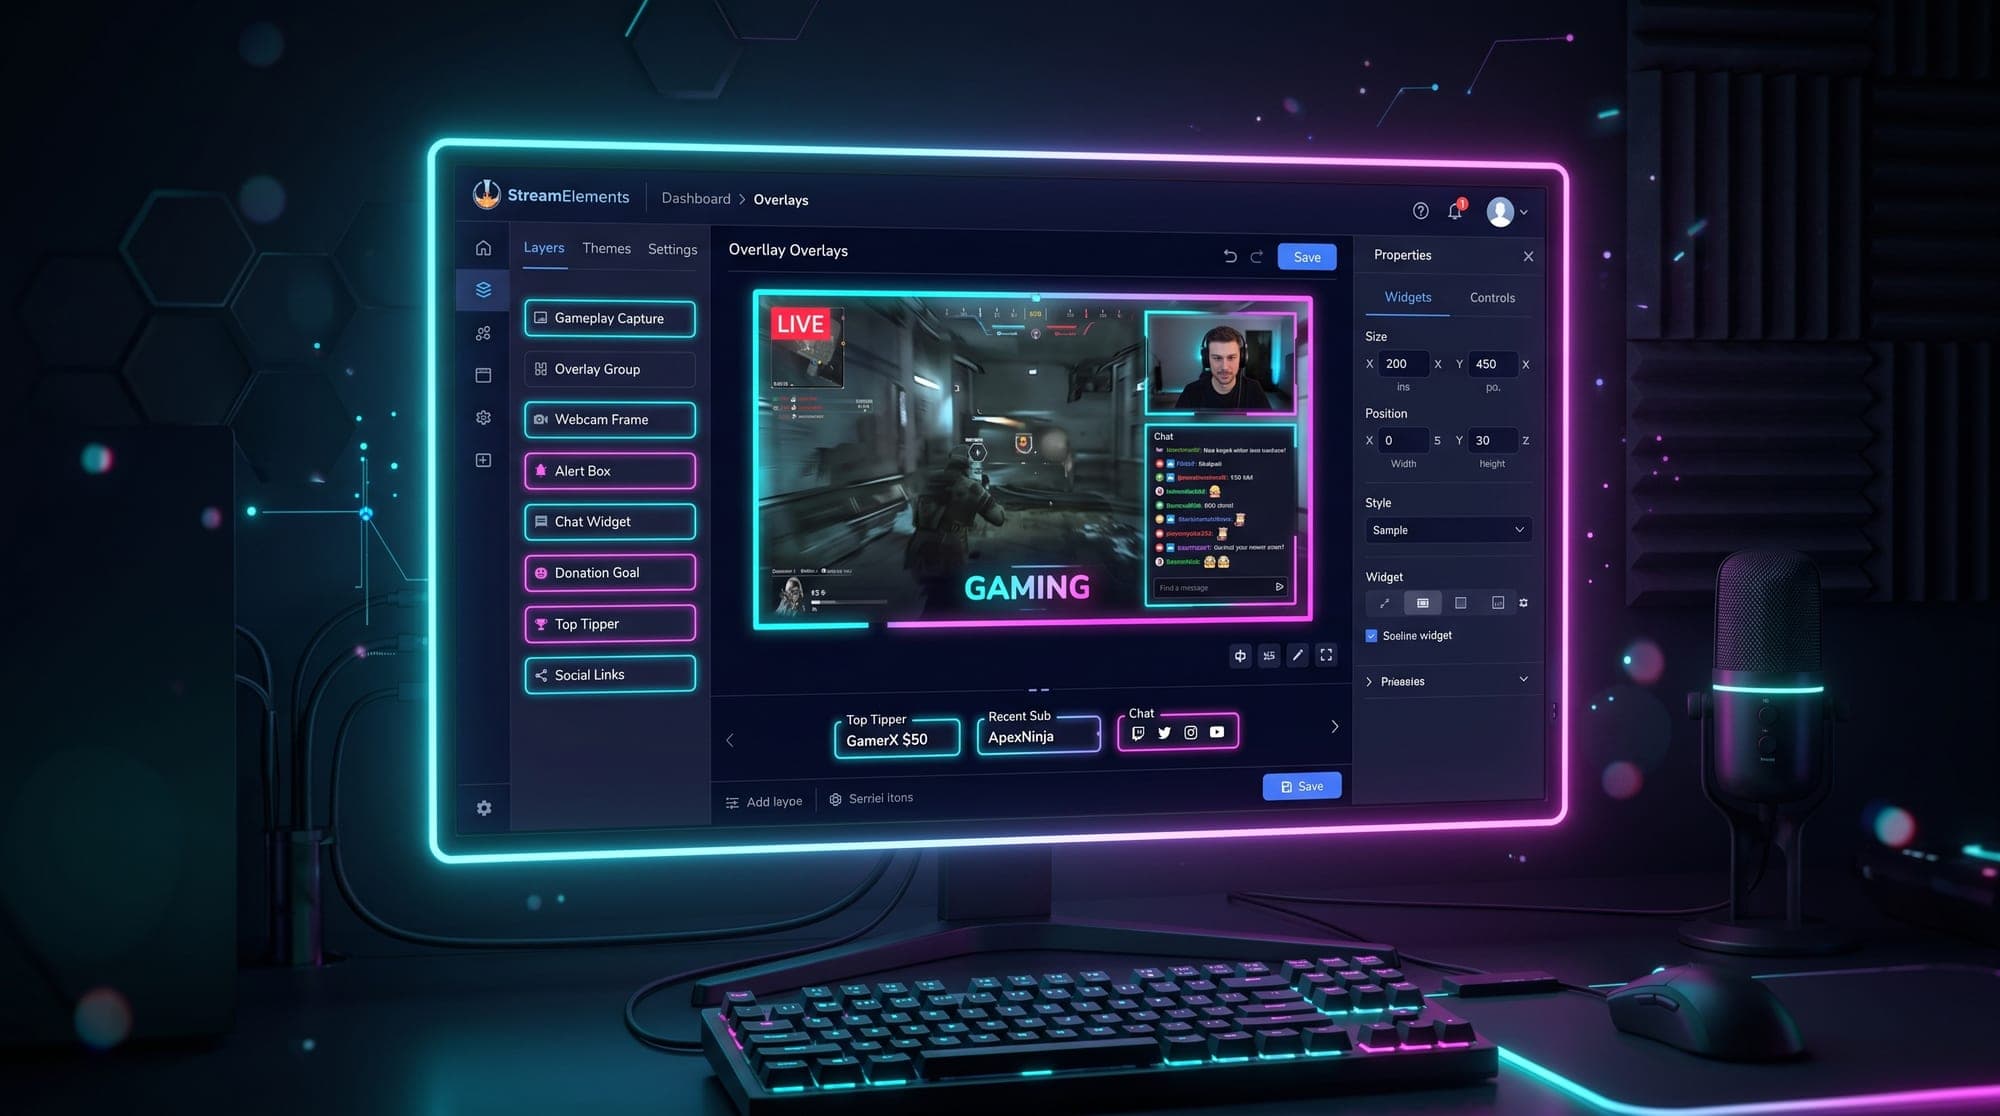
If you use StreamElements, you've got one of the most powerful overlay systems out there - but the editor can feel confusing the first time you open it. Where do overlays live? How do you get your own design in? And how does it actually show up in OBS? This guide clears all of that up.
By the end you'll know how to build a StreamElements overlay, drop your own custom graphics into it, and connect it to OBS in a few clicks. It takes about ten minutes, and you only have to set it up once.
What are StreamElements overlays?
A StreamElements overlay is a layout you build inside StreamElements' web-based overlay editor, then display on your stream through a single link. Instead of adding ten separate sources in OBS, you build everything - your screens, alerts, webcam frame, chat box and panels - into one overlay, and OBS pulls it in as one browser source.
That's the big idea: StreamElements does the heavy lifting in the cloud, and OBS just shows the result. The upside is that your alerts, chat and widgets are all wired up and controllable from your dashboard. The trade-off is that, because it's a browser source, it depends on your internet and StreamElements' servers - something to keep in mind, which we'll come back to.
Quick answer: add a StreamElements overlay to OBS
- In StreamElements, go to Streaming Tools → Overlays and copy the overlay URL from the three-dot menu, or use the link icon in the editor.
- In OBS, go to Sources → + → Browser and create a new source.
- Paste the URL, set Width 1920 and Height 1080 (unless your overlay uses another canvas size), and leave Custom CSS at its default setting.
- Use an FPS that matches your stream setup — 30 or 60 FPS — then click OK.
- Keep the URL private: it is for your OBS source, not for viewers.
That is the complete connection. The rest of this guide shows how to customize the design, add your own assets and fix the common “blank overlay” problem. StreamElements documents the same browser-source workflow in its official OBS overlay guide.
Before you start: one thing to keep private
Your StreamElements overlay URL is the private address that feeds your Browser Source in OBS. Do not put it in a public post, stream description or screenshot. Copy it only into your own OBS source.
How to add an overlay in the StreamElements editor
Everything starts in the overlay editor. Here's the exact path:
- Log in to your StreamElements dashboard.
- In the sidebar, go to Streaming Tools → Overlays.
- Click New Overlay.
- Set the resolution to 1080p from the dropdown and click Start. (Match this to your stream's canvas - almost always 1920×1080.)
You're now in the editor with a blank canvas. To add something, click Add Widget and pick what you need - a static image, a video, an alert box, a chat box, and so on. Each thing you add becomes a layer, and you'll see them stacked in the layer list on the left. Rename your layers something clear like "Webcam Border" or "Starting Soon" so you don't lose track - it makes a huge difference once you have several elements.
Adding your own custom overlay
Here's the part most guides skip: you don't have to use StreamElements' default graphics. You can bring in your own overlay design - a themed webcam frame, a custom screen, your own panels.
To add your own artwork as a layer:
- In the editor, click Add Widget → Static/Custom → Image (or Video for an animated WEBM/MP4 element).
- Upload your file - a transparent PNG for a static frame, or a WEBM/MP4 for animated motion.
- Position and resize it on the canvas so it sits exactly where you want.
- Rename the layer in the left-hand list so it's easy to find later.
Build up your scene this way - your webcam frame, your chat box, your alerts - and you've got a complete custom overlay living in StreamElements. If you grabbed an asset from the StreamElements gallery instead, just click CREATE on it, then GO TO MY OVERLAYS, and it lands in your My Overlays section ready to edit.