Adding a chat overlay to your stream is one of the highest-impact changes you can make — it pulls your community right into the action and makes your VODs and clips far more watchable. The good news: it takes about five minutes, and you've got several ways to do it depending on whether you use OBS on its own, Streamlabs, or StreamElements.
This guide covers all of them, step by step, with the exact settings that actually work. Let's get your chat on screen.
What is a chat overlay?
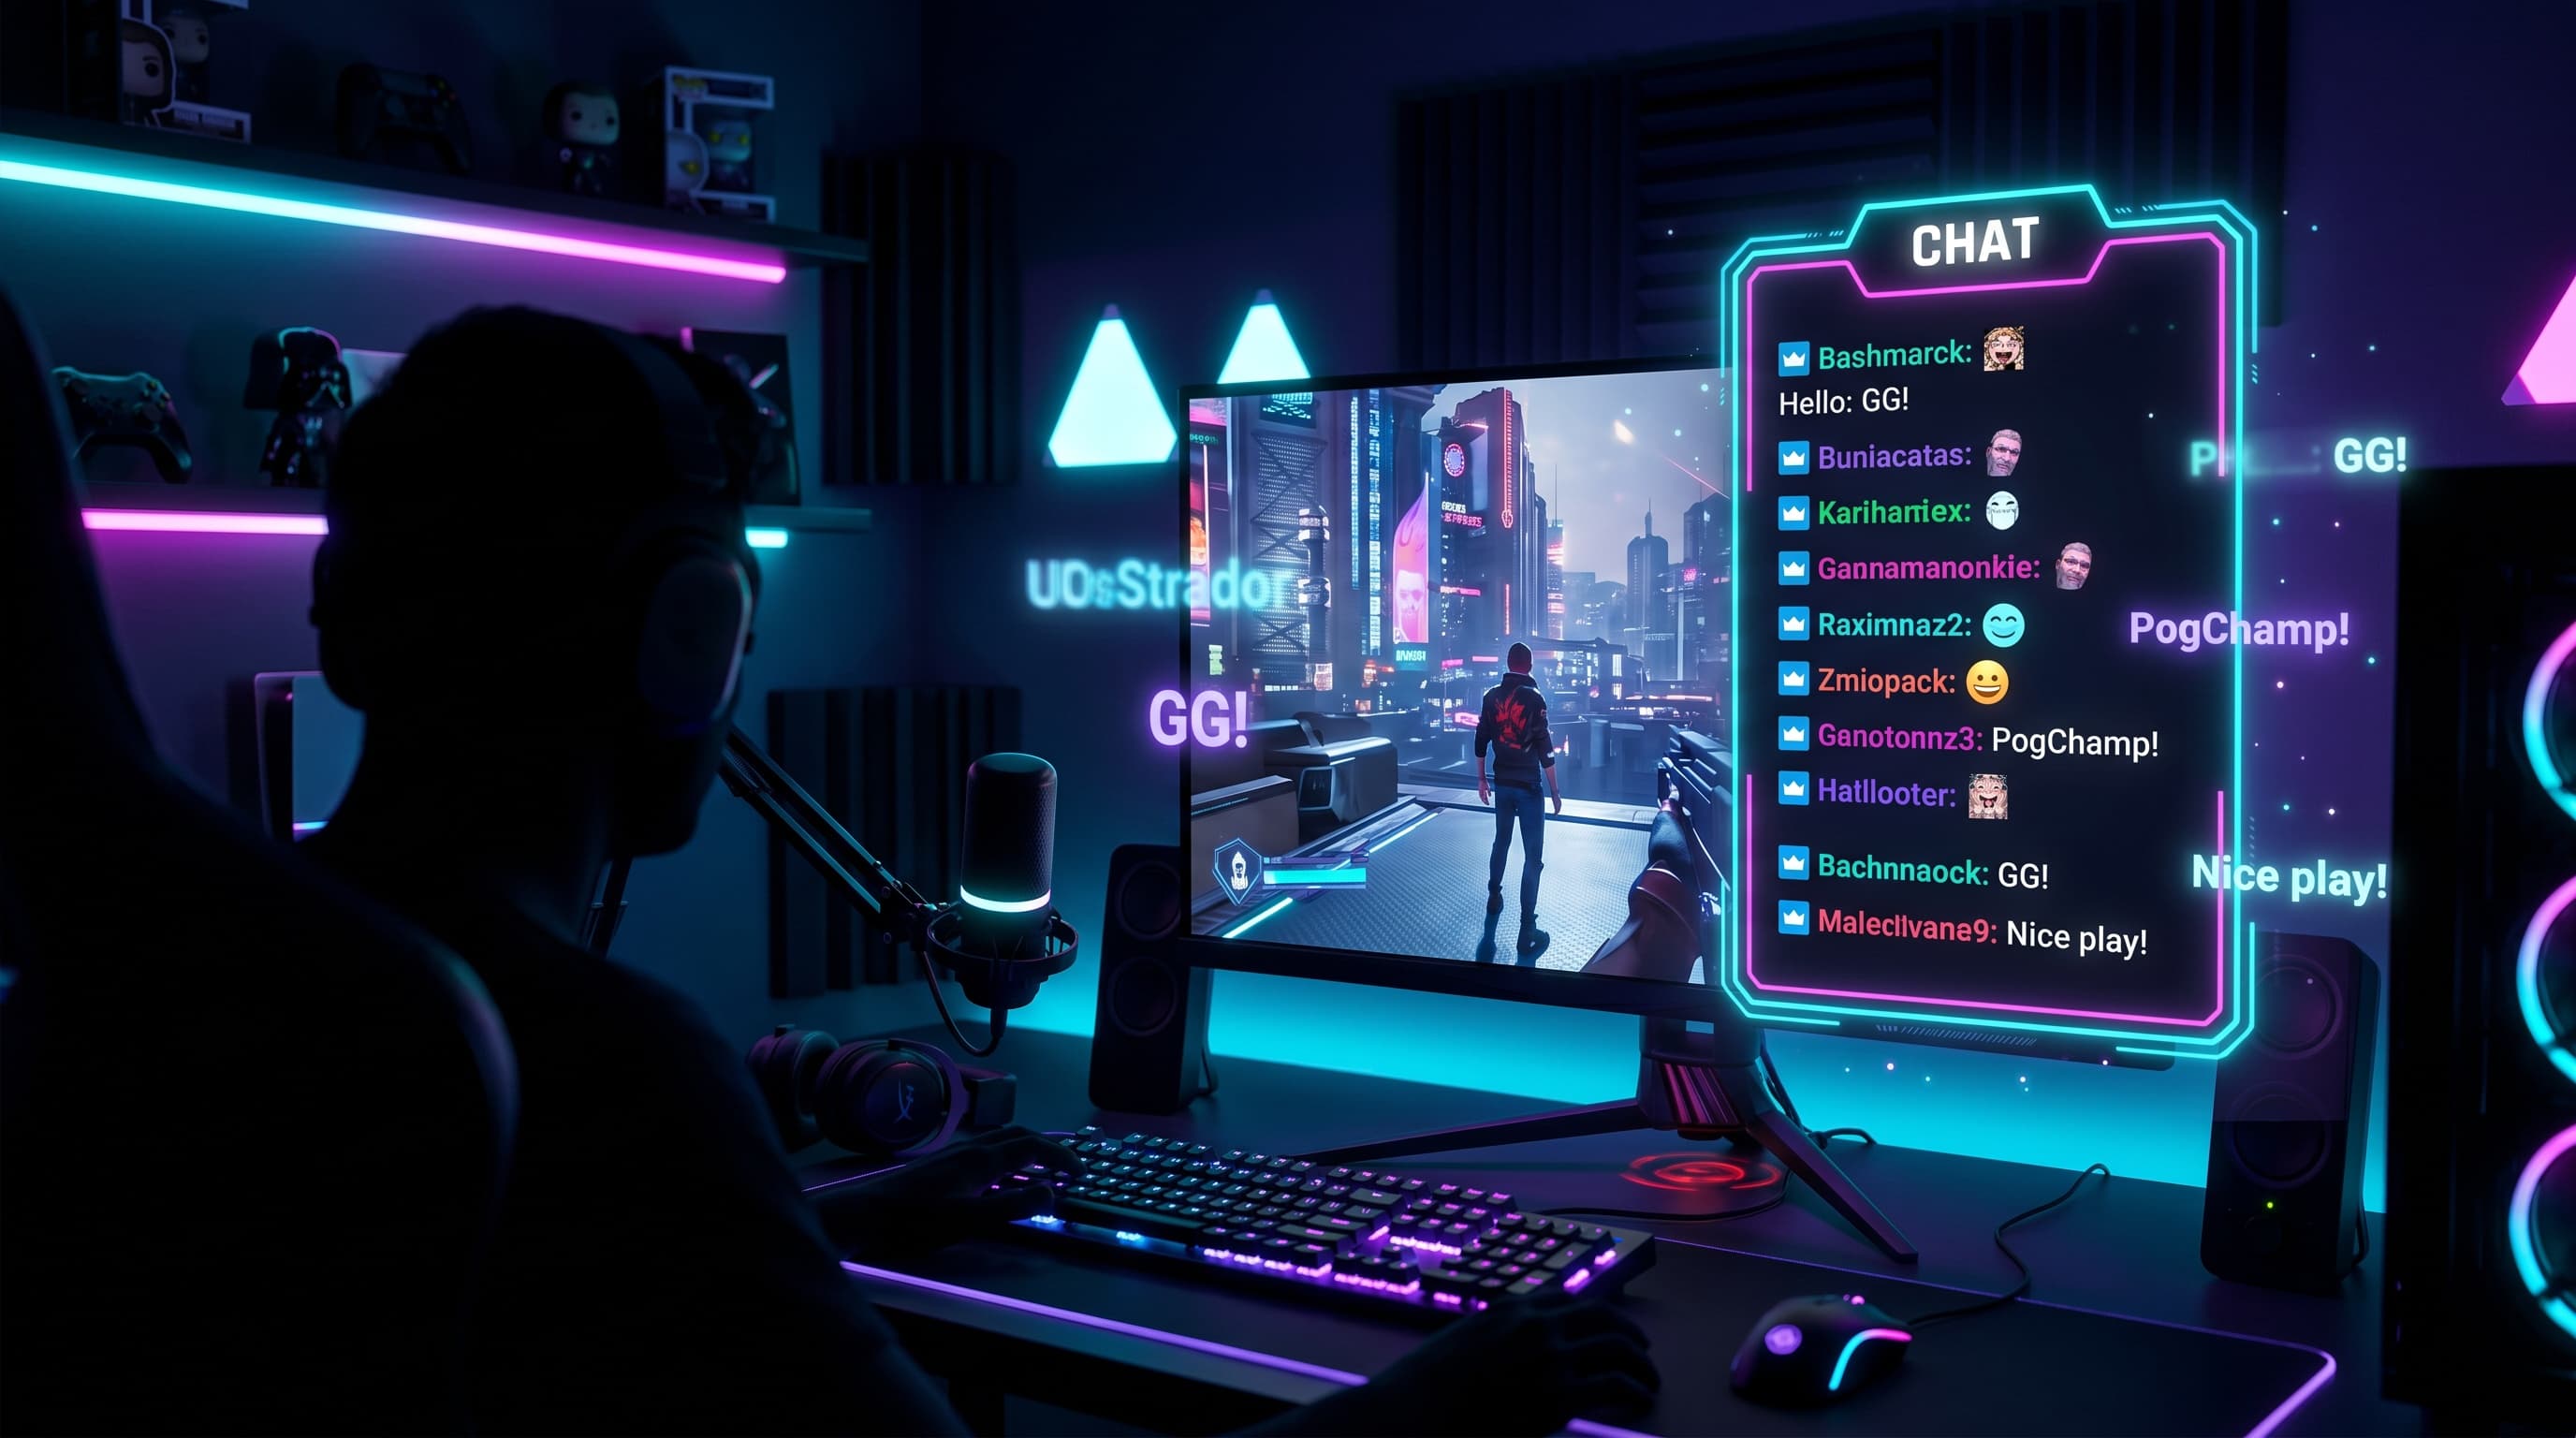
A chat overlay (sometimes called a chat box or "just chatting" overlay) is a transparent panel that shows your live Twitch chat directly inside your stream — over your gameplay, beside your webcam, wherever you want it. Instead of viewers only seeing chat in the sidebar, your messages appear on screen.
Why bother? Two big reasons:
- It boosts engagement. When people see their messages pop up on screen, they chat more. It turns passive viewers into participants.
- It makes your VODs and clips better. A recorded stream or clip that shows the conversation is far more entertaining than one where you're reacting to chat nobody can see.
It works on Twitch, and the same methods apply to YouTube and Kick. Whether you want a plain text box or a themed chat overlay that matches the rest of your branding, the setup is the same — you just swap the design.
How to add a chat overlay in OBS
There are actually three native ways to get Twitch chat into OBS before you even touch a third-party widget:
- Twitch account integration. Go to File → Settings → Stream and sign in with your Twitch account. OBS then gives you built-in chat and stream-info docks.
- Custom Browser Docks. Go to View → Docks → Custom Browser Docks and paste your Twitch chat popout URL. This shows chat in your OBS workspace (handy for you), but not on the stream itself.
- Browser Source (the one you want for an on-screen overlay). This is how you put chat on the stream for viewers to see. You add a Browser source pointing to a chat widget URL.
For an actual on-screen chat box, you'll use a Browser Source with a widget URL from Streamlabs or StreamElements (covered below). The basic flow in OBS is always the same:
- In the Sources panel, click + and choose Browser.
- Name it "Chat Overlay" and click OK.
- Paste your chat widget URL.
- Set the dimensions, then position it where you want.
A quick tip: chat widgets have a transparent background by default, so they sit cleanly over your gameplay. If your chat box shows a solid background, you've probably pasted the wrong URL (a channel page instead of the widget URL).
Setting up a Streamlabs chat overlay
If you use Streamlabs, the Chat Box widget is the fastest route:
- Log into the Streamlabs dashboard.
- Click Chat Box in the left-hand menu.
- Customize the look — theme, font, text size, and the message hide delay (how long messages stay before fading).
- Click Copy to grab the widget URL.
- In OBS, add a Browser source and paste that URL.
That's it — your chat appears on stream. If you're using Streamlabs Desktop instead of OBS, the Chat Box is even simpler: it's a built-in widget you add straight from the editor.
Setting up a StreamElements chat box
StreamElements works through its overlay editor. Here's the exact process:
- Go to StreamElements and open Streaming Tools → Overlays.
- Click New Overlay, set the resolution to 1080p, and press Start.
- In the bottom-left, click the + icon and choose Stream Tools → Your Stream's Chat.
- In the top-left settings, change the theme to Custom, make sure Show Messages is enabled, and set Message Delay to 0.
- Name it and Save, then click the icon at the top to copy the Widget URL.
- In OBS, add a Browser source, paste the URL, and set the size.
For dimensions, a chat box around 450px wide × 900px tall (for a tall side panel) or roughly 541 × 670 (for a more compact box) works well — adjust to fit your layout. A text size around 25 with a bold font like Impact keeps it readable over busy gameplay.