The overlay file import workflow in Streamlabs OBS is the process of loading a prebuilt .overlay package directly into your Scene Collections, replacing hours of manual setup with a few clicks. Streamlabs Desktop handles this through a dedicated import button inside its settings panel, making it one of the fastest ways to get a professional-looking broadcast up and running. Whether you grabbed a pack from Neonstreamlab or downloaded one from another source, the core process is the same. This guide walks you through every step, from prerequisites to troubleshooting, so your stream looks exactly how you want it.
What does the overlay file import workflow in Streamlabs OBS involve?
The Streamlabs Desktop import workflow is: Settings → Scene Collections → Import Overlay File → choose .overlay → import scenes. That single path replaces what used to take 30 minutes of manual source-adding with under two minutes of work. The .overlay format bundles scene layouts, source references, and asset paths into one file. Think of it as a blueprint your software reads and rebuilds automatically.
Importing overlays as full scene collections is more efficient and less error-prone than recreating each element manually. That matters when you are switching themes between streams or testing multiple visual identities for your channel.
What you need before importing an overlay file
Getting your setup right before you click anything saves a lot of headaches. Here is what to check:
- Streamlabs Desktop installed and updated. The import feature lives inside Streamlabs Desktop, not OBS Studio. Make sure you are running the latest version to avoid compatibility gaps with newer
.overlay formats.
- Your
.overlay file and its assets. Most overlay packs include the main .overlay file plus supporting files: PNG images for static frames, WebM or MOV files for animated overlays, and sometimes font files. Keep them all in the same folder.
- A backup of your current scene collection. Streamlabs stores scene collections as JSON files in your AppData roaming directory. Export your current collection before importing anything new. You can do this inside Scene Collections by clicking "Export."
- A reliable overlay source. Official Streamlabs theme packs, creator marketplaces, and premium providers like Neonstreamlab all produce
.overlay files built for direct import. Avoid random ZIP files from forums that lack a clear folder structure.
- Enough disk space. Animated overlay packs with WebM files can run several hundred megabytes. A full drive causes import failures that look like software bugs.
Pro Tip: Create a dedicated folder on your desktop named "Stream Overlays" and drop every pack you download into its own subfolder. This keeps asset paths clean and prevents broken file references after import.
One thing worth knowing: if you plan to use these overlays in OBS Studio instead of Streamlabs Desktop, the process is different. Importing into OBS Studio requires either the Streamlabs plugin or manually recreating scene collections. The native .overlay import button only exists inside Streamlabs Desktop.
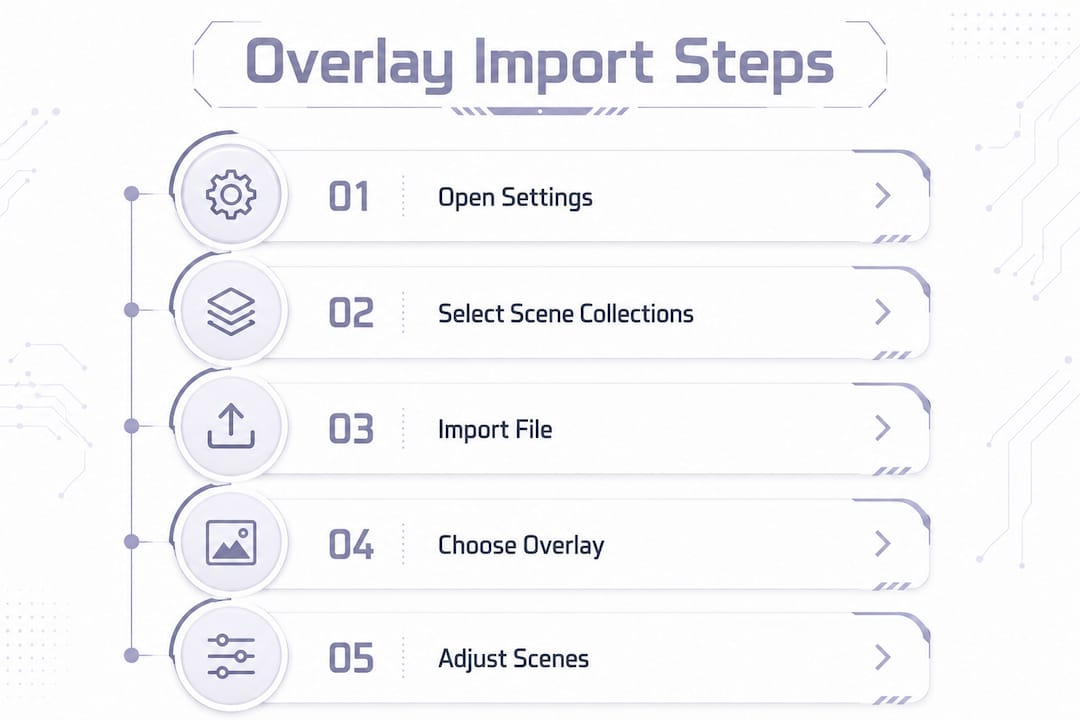
How to import an overlay file into Streamlabs OBS step by step
Follow these steps in order. Skipping ahead causes import errors that are annoying to trace back.
- Open Streamlabs Desktop. Launch the app and wait for it to fully load. Trying to import during startup sometimes causes the file dialog to freeze.
- Click the gear icon in the bottom left corner to open Settings.
- Select "Scene Collections" from the left sidebar inside Settings.
- Click "Import Overlay File." A file browser opens. Navigate to the folder where your
.overlay file lives and select it.
- Wait for the loading animation to finish. Streamlabs reads the file, rebuilds the scene layout, and links all referenced assets. This takes 5–30 seconds depending on pack size.
- Check that your scenes appear. After import, you should see new scenes listed in your Scenes panel, typically labeled with names like "Gameplay," "BRB," or "Starting Soon."
- Click through each scene and confirm that overlay images, alert boxes, and webcam frames are visible and positioned correctly.
- Adjust any misaligned sources. If something looks off, right-click the source in the Sources panel and select "Transform" to reposition or resize it.
Pro Tip: After import, run a quick test recording for 60 seconds before going live. Play it back to catch any sources that appear in the editor but drop out during capture.
The cleanest overlay workflow is to import the .overlay into Scene Collections first, then review and adjust scenes rather than recreating elements manually. That order keeps your scene structure intact and gives you a solid base to work from.
How to manage overlay layers and sources after import
Layer order is the most overlooked part of the Streamlabs OBS overlay setup. Get it wrong and your webcam disappears behind a frame graphic, or your overlay sits underneath your game capture and becomes invisible.
Layer order is key for overlays to frame webcam feeds properly and maintain a professional stream look. The rule is simple: sources at the top of the Sources panel render on top of everything below them. Your overlay frame graphic should sit above your webcam source. Your webcam source should sit above your game capture.
- Webcam and game capture go at the bottom of the Sources list. They are your content layer.
- Overlay frame images sit in the middle. They frame your webcam without covering your game.
- Alert boxes and chat widgets go at the top. They need to appear over everything else.
For animated overlays, use Media Source instead of Image source. Media Source supports WebM and MOV files with transparency channels, which lets animated elements play over your stream without a white or black background box ruining the effect.
Resizing overlays without distorting them is a common struggle. Holding Shift while resizing an overlay image in the Sources box preserves the aspect ratio and prevents stretched overlays. This is especially useful when you are adapting a 1920x1080 overlay pack to a canvas set to a different resolution.
Pro Tip: Lock sources you are not actively editing by clicking the padlock icon next to them in the Sources panel. This prevents accidental clicks from moving your carefully positioned overlay frames.
If an overlay appears hidden after import, check whether another source is covering it. Click the eye icon next to each source to toggle visibility and isolate the problem layer.
Common issues when importing overlays in Streamlabs OBS
Even a clean import can run into problems. Most issues fall into a small set of categories.
- The
.overlay file fails to import. This usually means the file is corrupted or was compressed inside a ZIP that was not fully extracted. Always unzip the pack completely before importing.
- Missing media after import. If Streamlabs cannot find a referenced PNG or WebM file, it shows a red "Media File Not Found" warning. Check file extensions and folder structure and make sure no files were moved after download.
- Overlays appear in the wrong position or at the wrong scale. This happens when the overlay was designed for a different canvas resolution. Go to Settings → Video and confirm your canvas resolution matches the overlay's intended resolution, typically 1920x1080.
- Scenes import but look empty. The scene structure loaded, but asset paths broke. This often happens when you move the overlay folder after import. Keep the folder in place and re-import if needed.
- Backing up and restoring scene collections. Streamlabs stores scene collections as JSON files in the roaming AppData directory. You can copy these files manually as a backup. To restore, place the JSON file back in that directory and it will appear in your Scene Collections list.
If your overlays downloaded correctly but still will not show up, the most common fix is to check that the file is fully extracted and that no antivirus software quarantined a WebM or MOV file during download. Animated files sometimes trigger false positives.
For overlays that are genuinely corrupted, the fastest fix is to re-download the pack from the original source. Reputable providers like Neonstreamlab keep download links active so you can grab a fresh copy without repurchasing. Check out the overlay guides at Neonstreamlab for additional troubleshooting tips specific to animated packs.
Key takeaways
The most reliable overlay file import workflow in Streamlabs OBS starts with a clean file structure, uses the Scene Collections import path, and ends with a layer order check before going live.
| Point |
Details |
| Use the Scene Collections path |
Go to Settings → Scene Collections → Import Overlay File to load any .overlay pack. |
| Back up before you import |
Export your current scene collection as a JSON file before adding a new overlay. |
| Layer order determines visibility |
Place overlay frames above webcam sources and game capture in the Sources panel. |
| Use Media Source for animations |
WebM and MOV animated overlays require Media Source, not Image source, to display correctly. |
| Fix missing files before re-importing |
Check folder structure and file extensions when sources show red "not found" warnings. |
What I have learned from managing overlays across dozens of streams
The overlay import feature in Streamlabs Desktop is genuinely one of the better-designed parts of the software. But I have seen streamers waste an entire pre-stream hour because they skipped the backup step or moved their overlay folder after import. Both mistakes are easy to avoid and hard to recover from in the moment.
The habit that made the biggest difference for me was testing alert boxes, chat widgets, and overlay visibility before every broadcast, not just after a new import. Scenes that looked perfect in the editor sometimes behave differently during a live capture. A 60-second test recording catches those gaps before your audience does.
I also stopped building overlays from scratch years ago. Importing a professionally designed pack and then tweaking colors or swapping out a logo takes a fraction of the time. The visual quality is also higher because professional designers account for things like safe zones, resolution scaling, and animation loop timing that most streamers do not think about until something looks wrong on stream. If you want to go deeper on color choices after import, the overlay color palette guide at Neonstreamlab is worth reading.
One more thing: layer management is not a one-time task. Every time you add a new source, like a new game capture or a second webcam, you need to check where it lands in the stack. New sources default to the top of the Sources panel, which means they cover everything below them. That is the number one reason streamers suddenly cannot see their overlay after adding something new.
— manel
Ready-to-import overlay packs from Neonstreamlab
If you want to put this workflow to use right away, Neonstreamlab has a full collection of animated overlay packs built for direct import into Streamlabs Desktop.
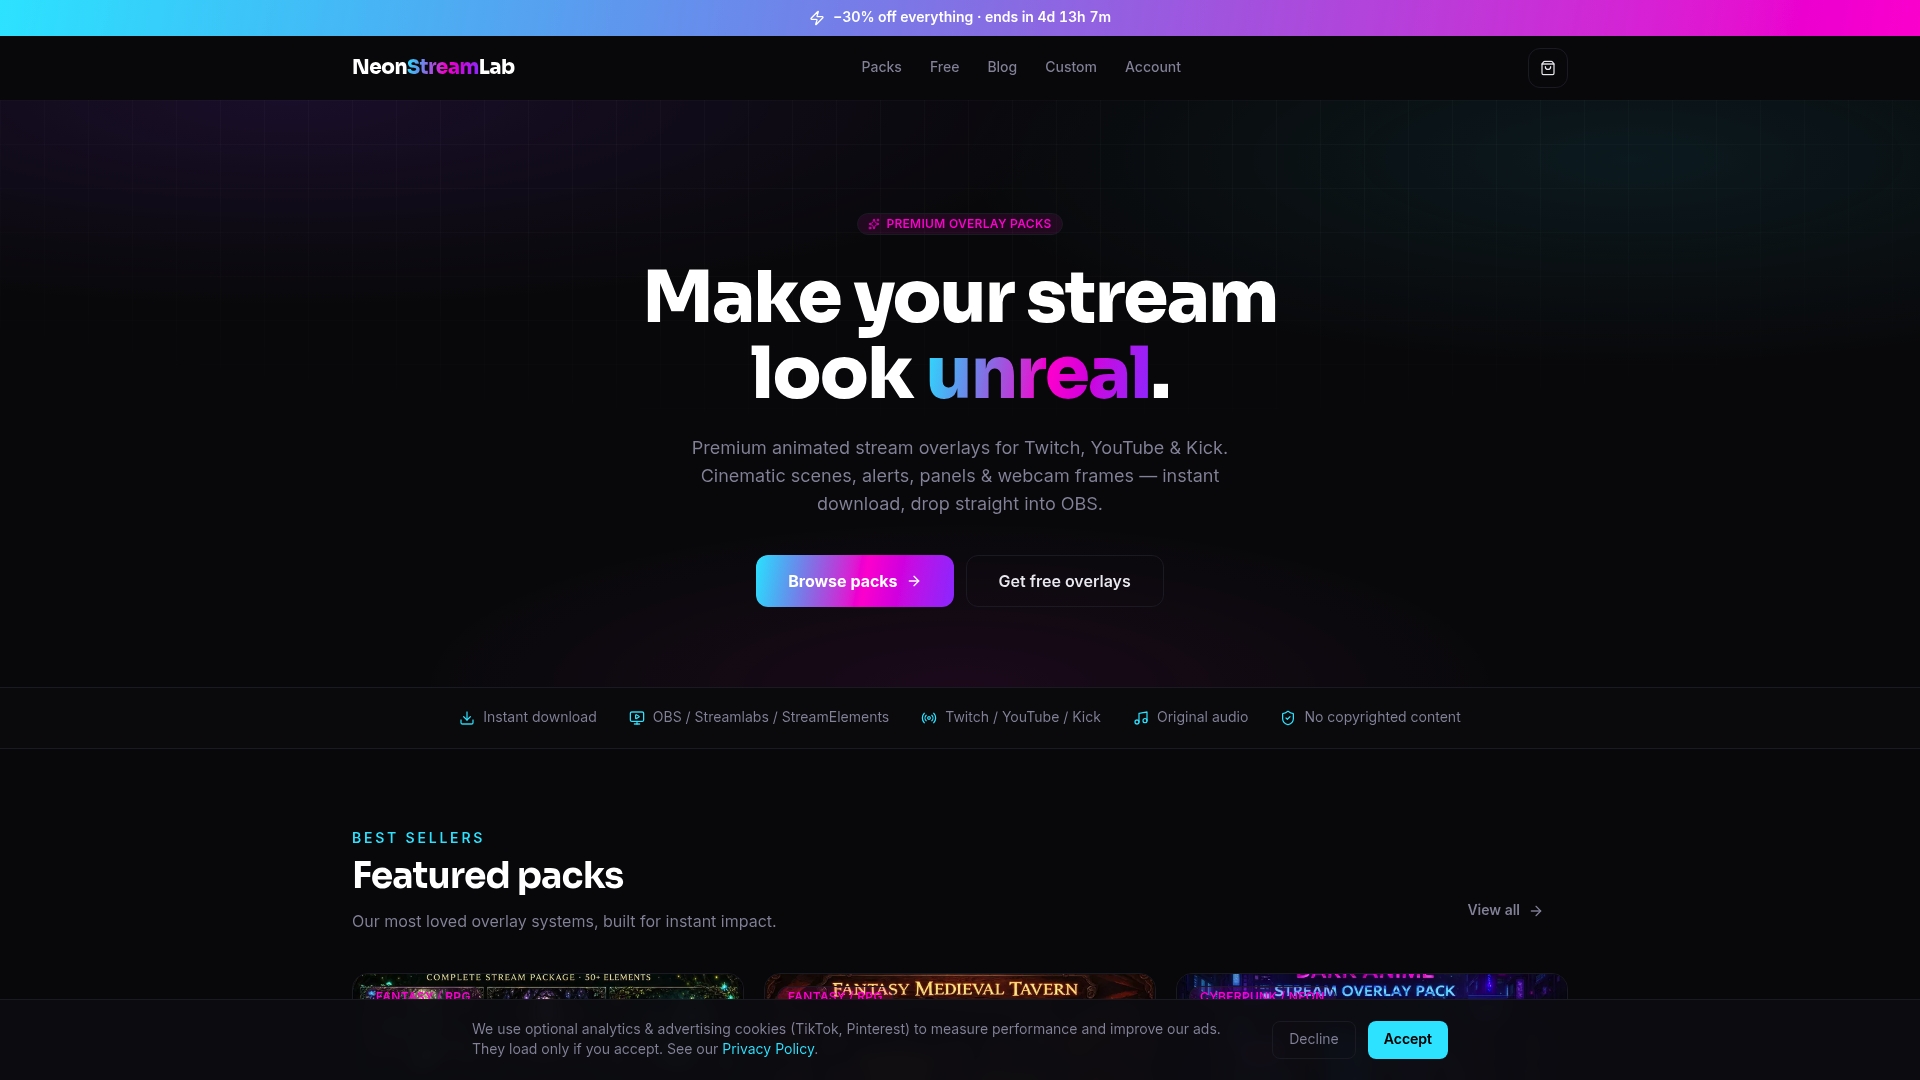
Each pack includes the .overlay file, all supporting assets, and a folder structure that keeps file paths clean on import. Themes range from the Dark Anime Grunge Cyberpunk pack to the Space Station Sci-Fi pack, with animated webcam frames, alert overlays, and panels included. Over 192 streamers have rated the collection 4.9 out of 5. All audio in animated packs is original and copyright-free, so you can stream on Twitch, YouTube, or Kick without worrying about muted VODs. Browse the full collection at Neonstreamlab and download instantly.
FAQ
What is an .overlay file in Streamlabs?
An .overlay file is a prebuilt package that contains scene layouts and source references for Streamlabs Desktop. You import it through Settings → Scene Collections to load a complete stream setup in seconds.
Can I use Streamlabs overlay files in OBS Studio?
Not directly. Importing Streamlabs overlays into OBS Studio requires the Streamlabs plugin or manual scene recreation. The native .overlay import button only works inside Streamlabs Desktop.
Why are my overlays not showing after import?
The most common cause is missing or misplaced asset files. Check file extensions and folder structure and confirm the overlay pack was fully extracted before import.
How do I back up my Streamlabs scene collections?
Streamlabs stores scene collections as JSON files in your AppData roaming directory. Copy those files to a safe location before importing new overlays.
What file types do animated overlays use?
Animated overlays typically use WebM or MOV files with transparency. Add them as a Media Source in Streamlabs Desktop to display animation and transparency correctly.
Recommended
Get matching overlays from NeonStreamLab
At NeonStreamLab we design premium animated overlay packs that already put these principles into practice — balanced colour, clean hierarchy and a cohesive look across screens, alerts, webcam frames and panels. Browse Cyberpunk overlays, Anime overlays, Horror & Gothic overlays to find a theme that fits your channel, like our Cyberpunk pack.
Every pack works with OBS, Streamlabs and StreamElements, uses original copyright-free audio, and downloads instantly. Want to try before you buy? Grab a free overlay pack and see how it looks on your stream.
